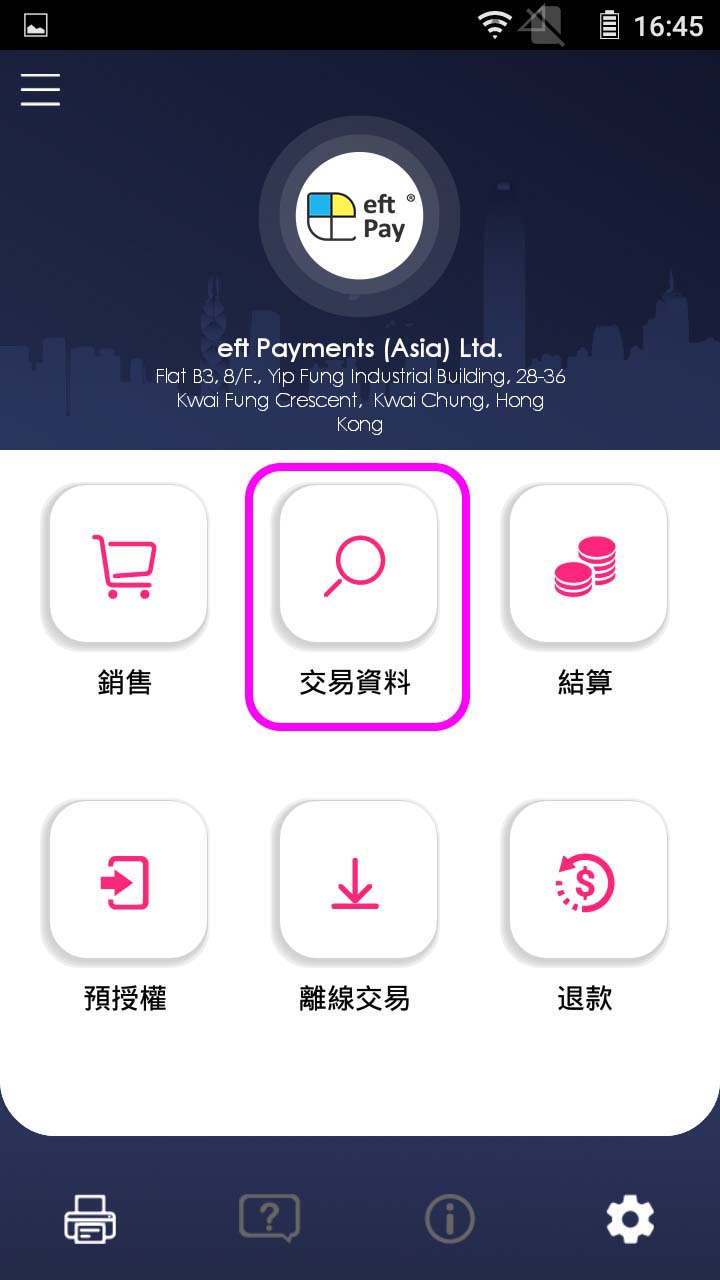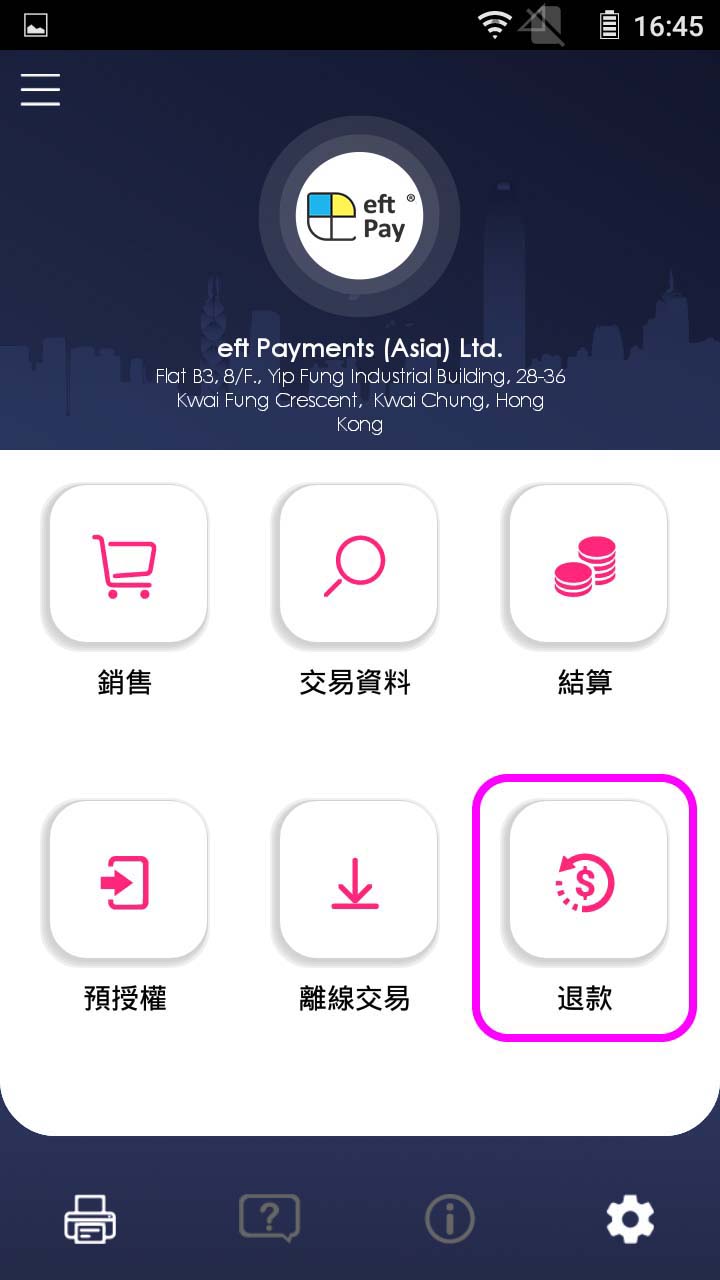
- Step 1 -
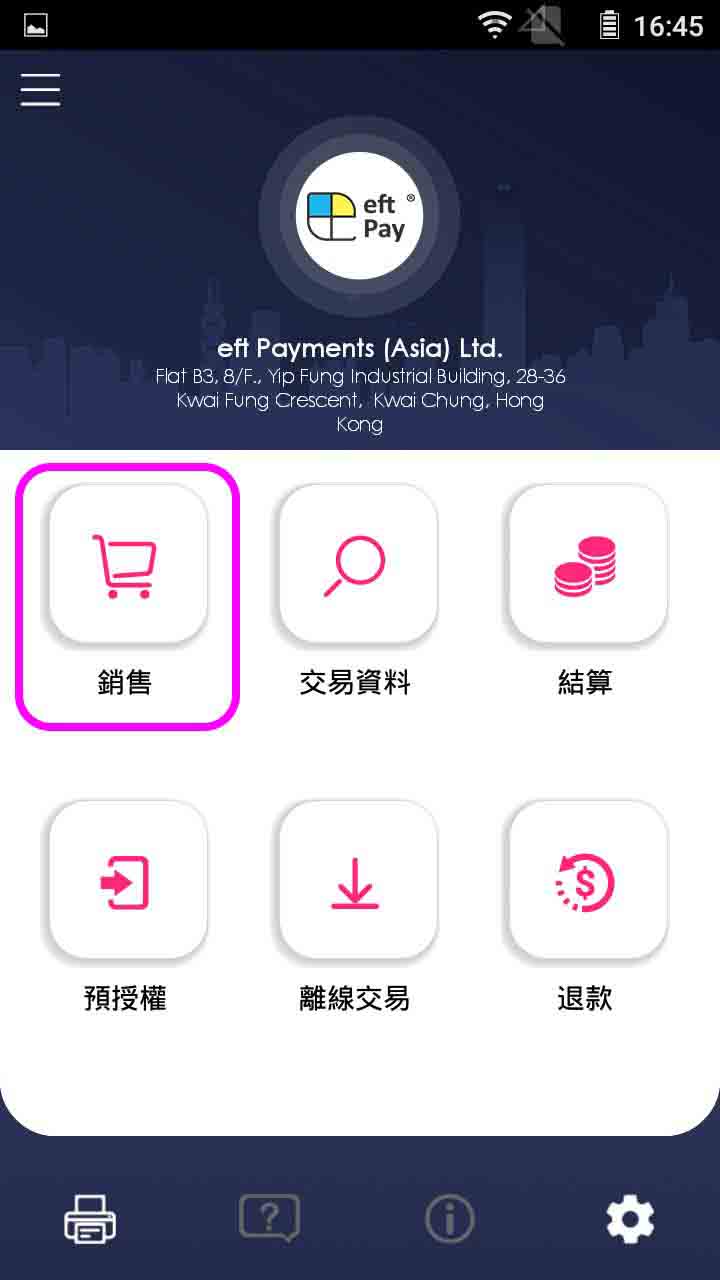
Press [Sale] on menu
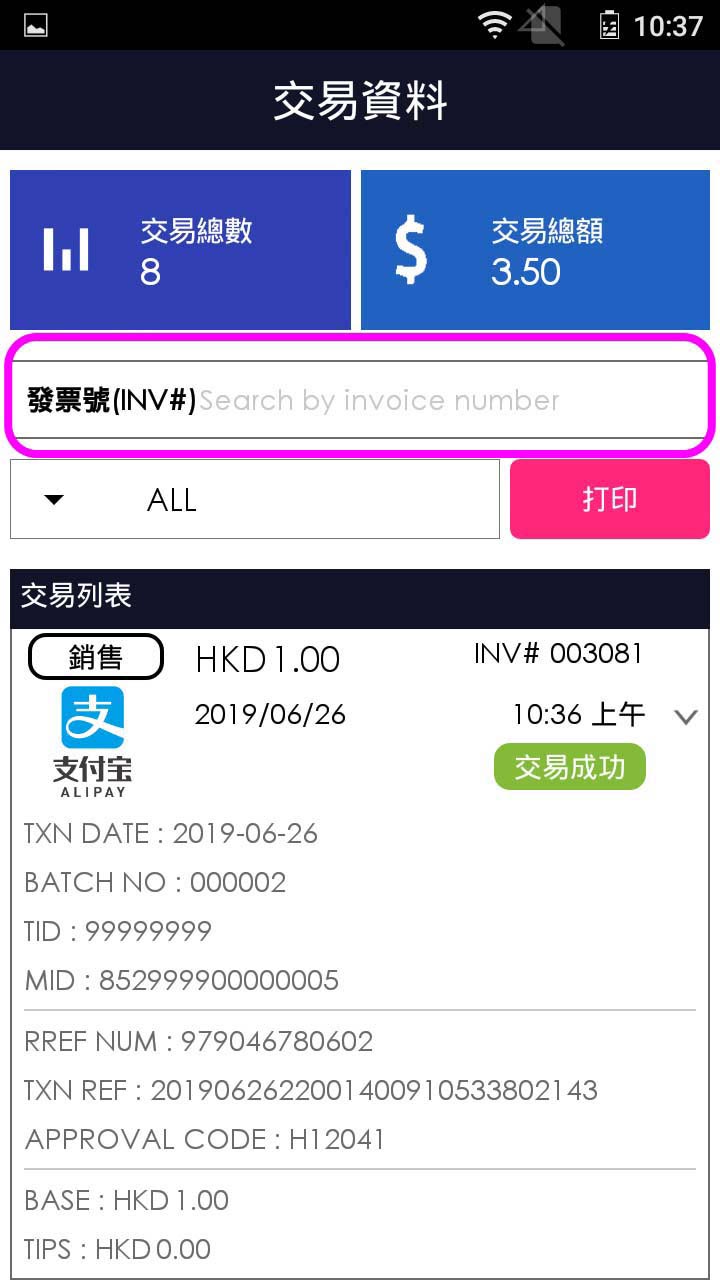
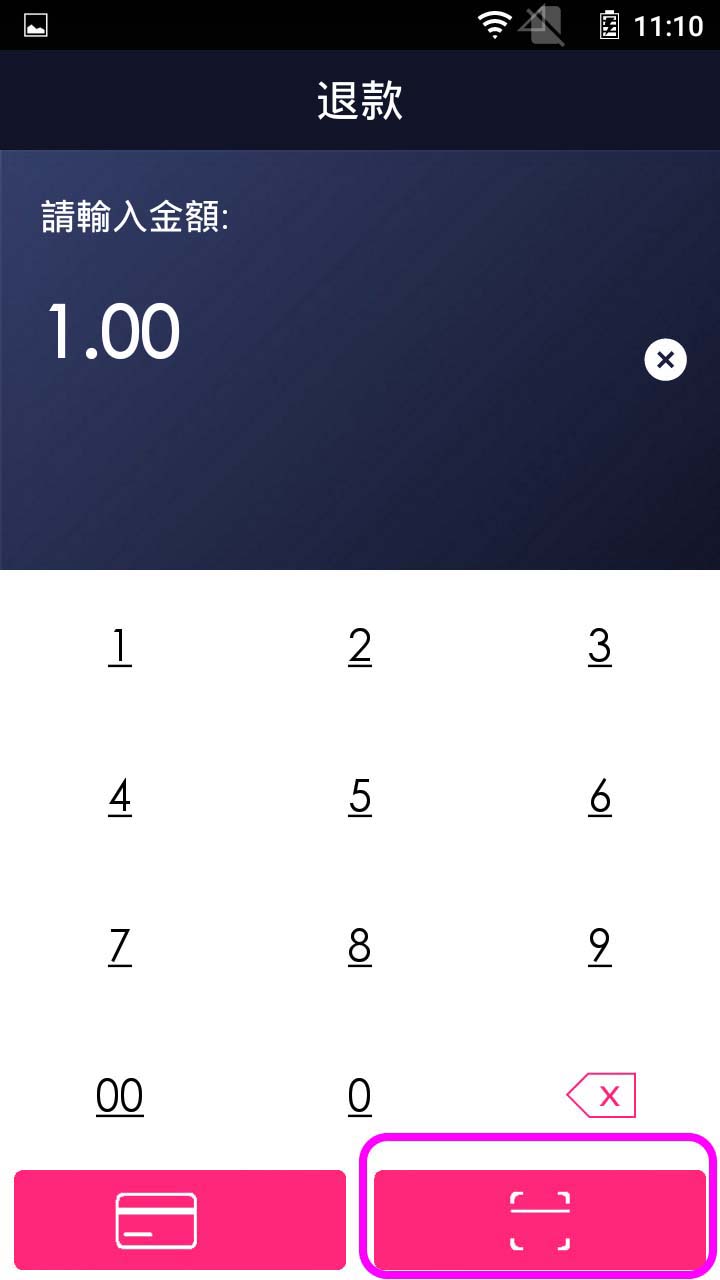
- Step 2 -
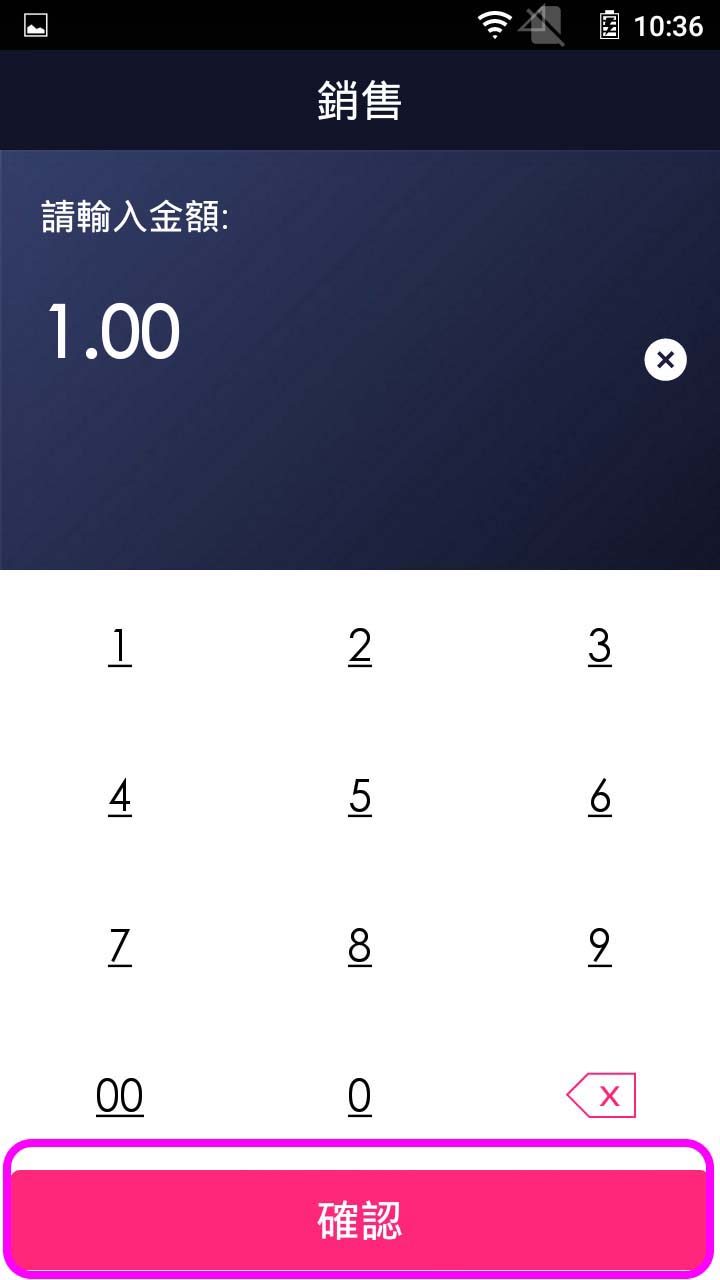
Enter sale amount
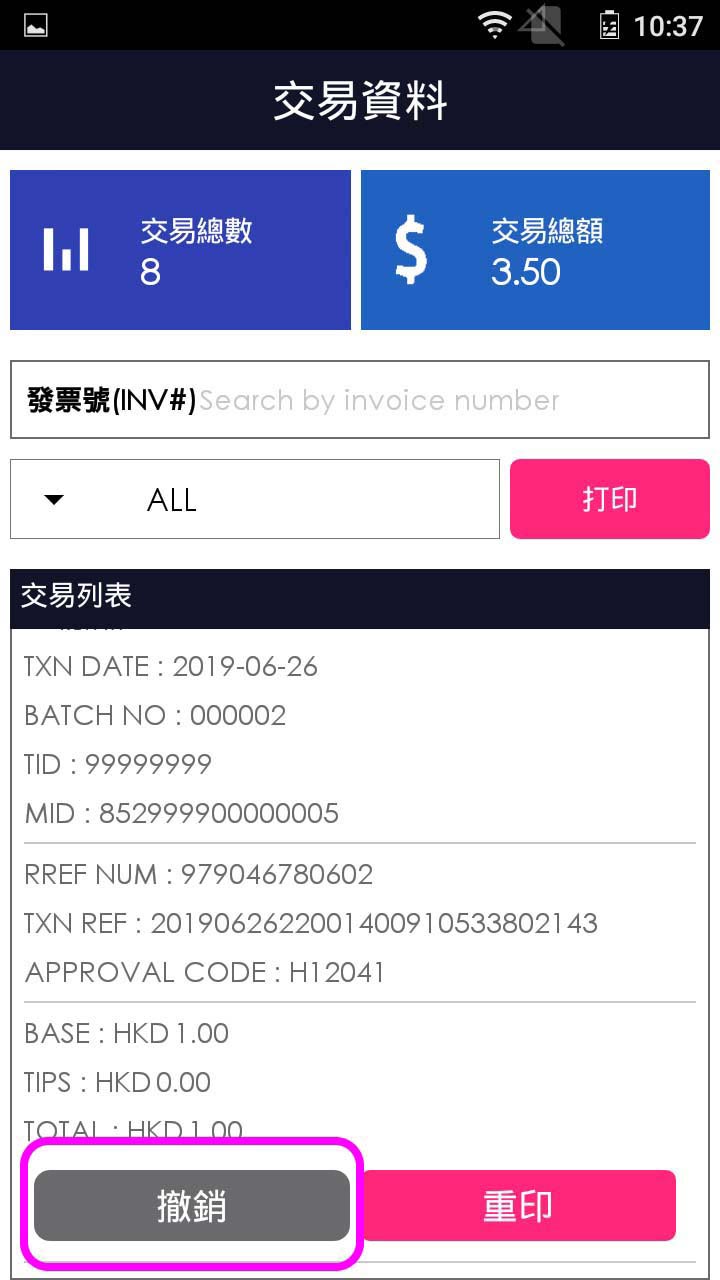
- Step 3 -
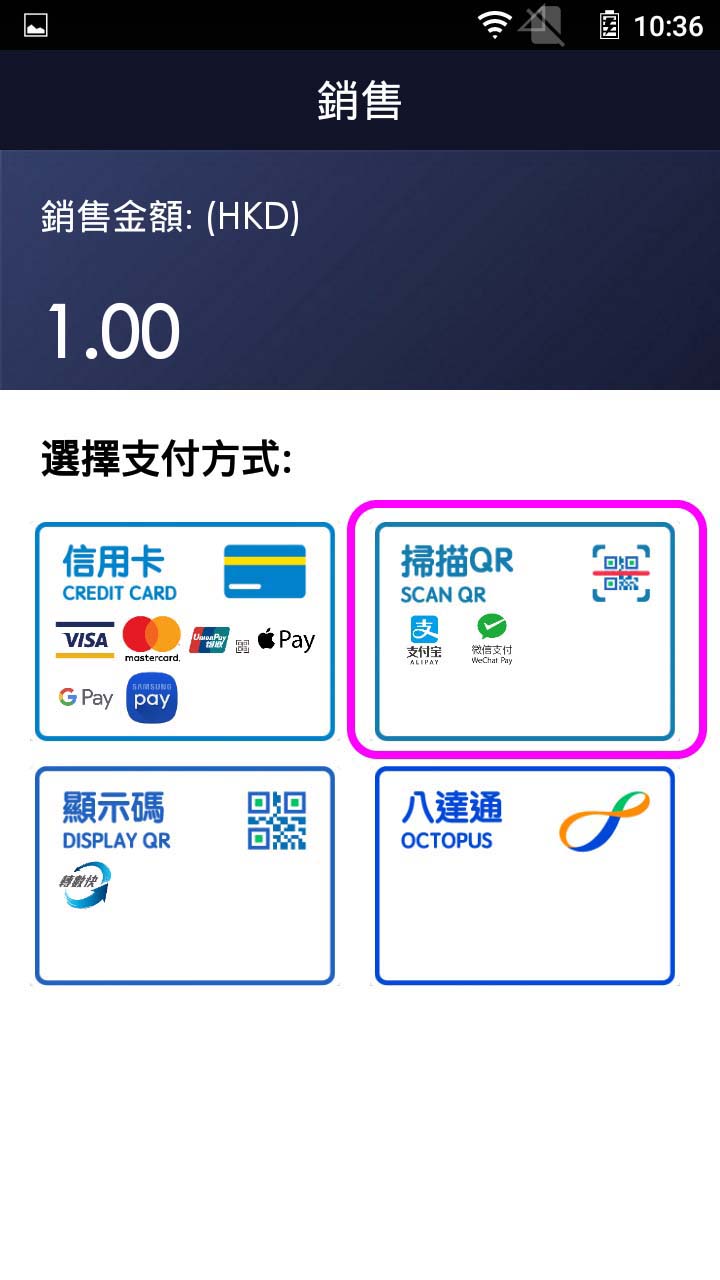
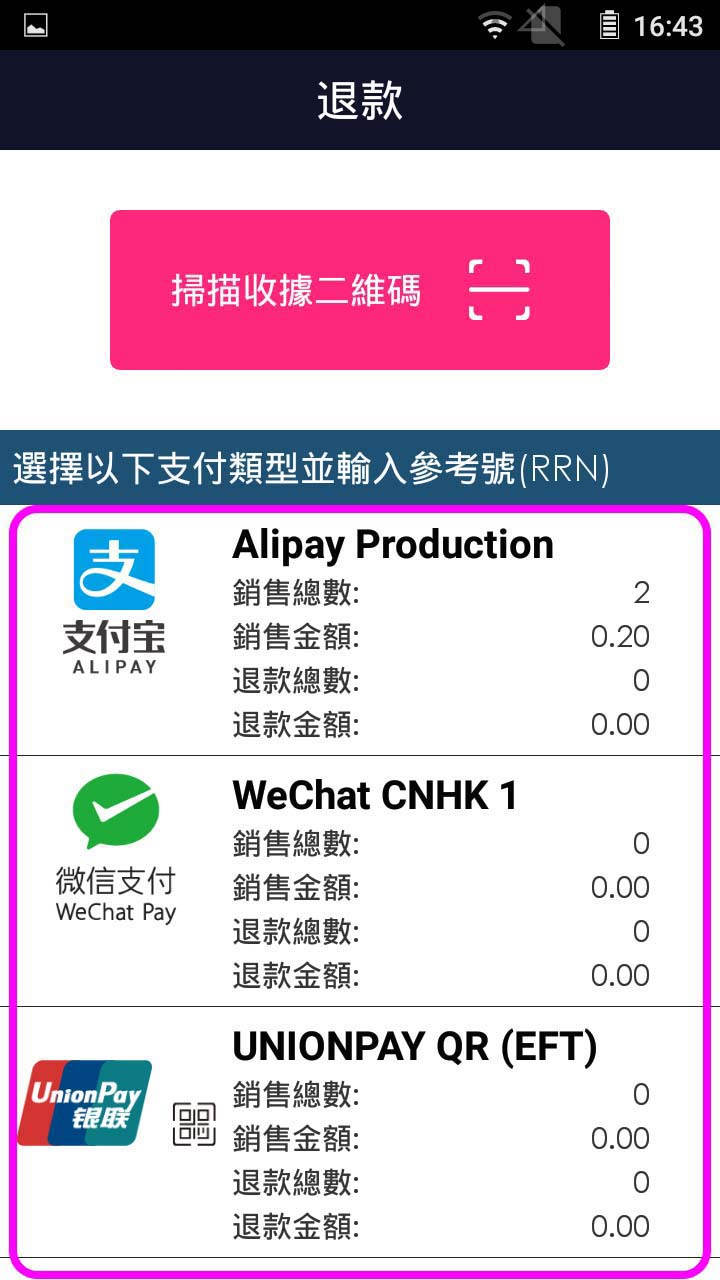
Press button to select QR code payment
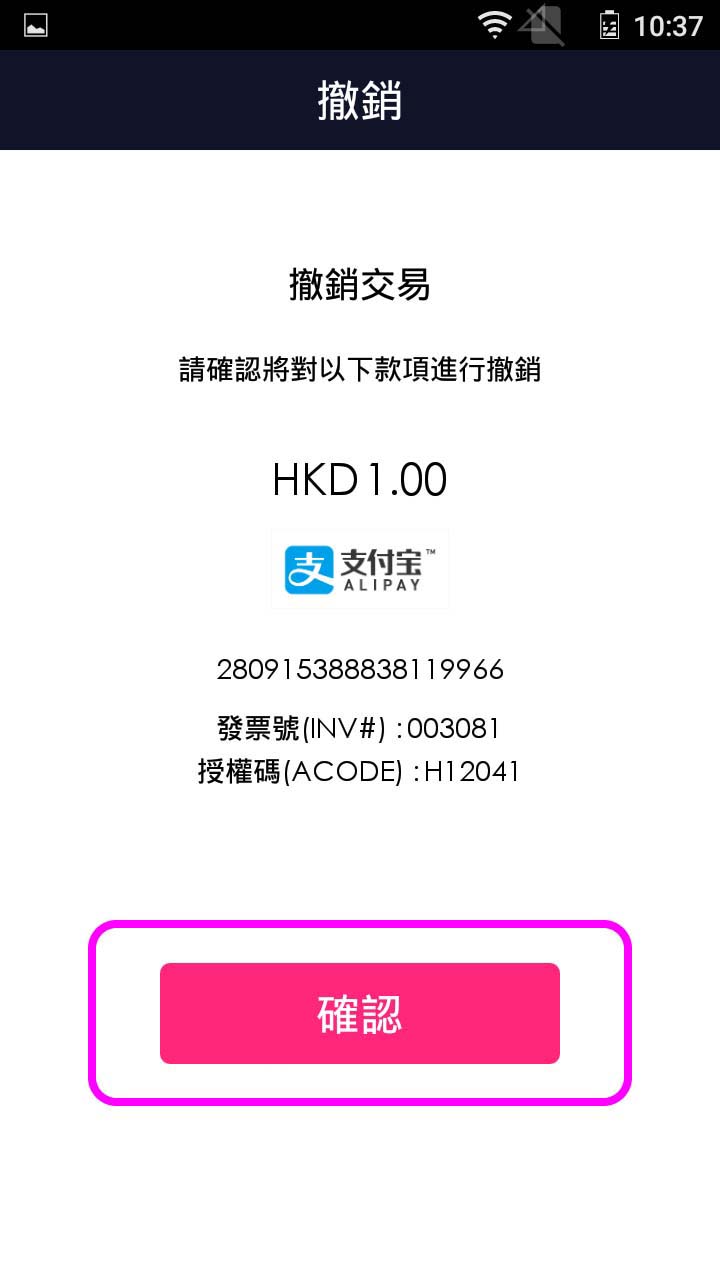
- Step 4 -
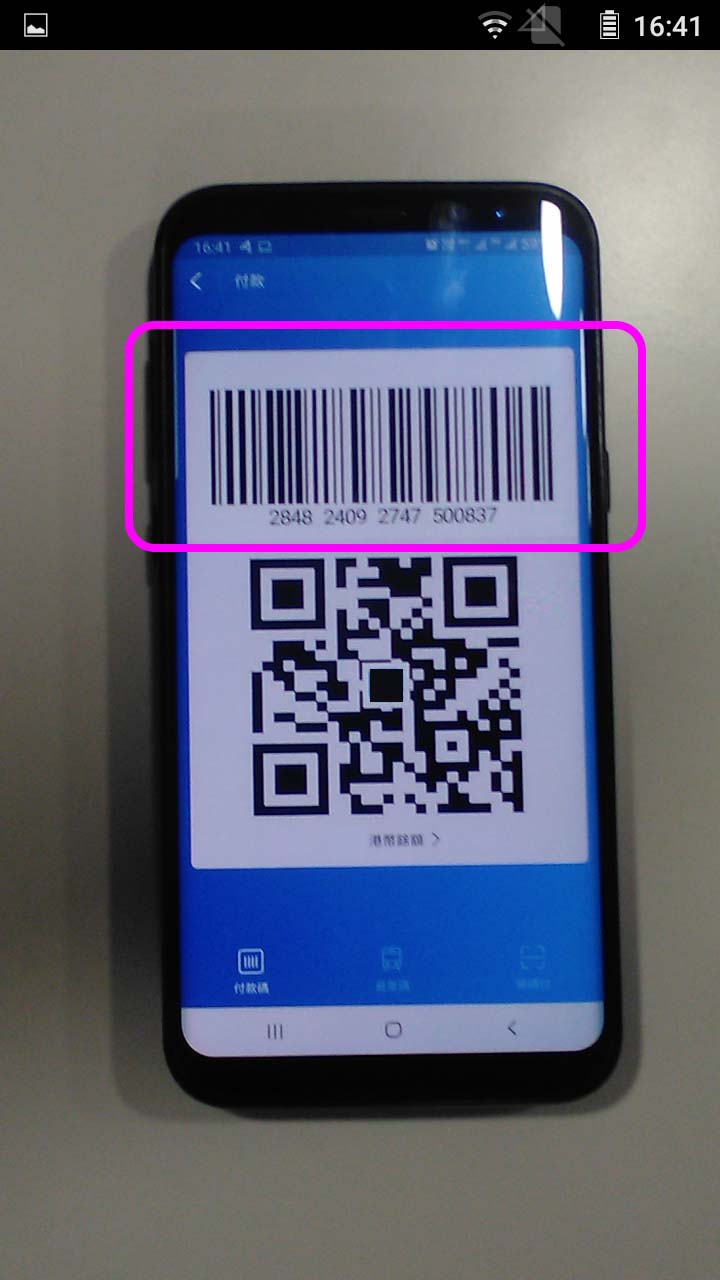
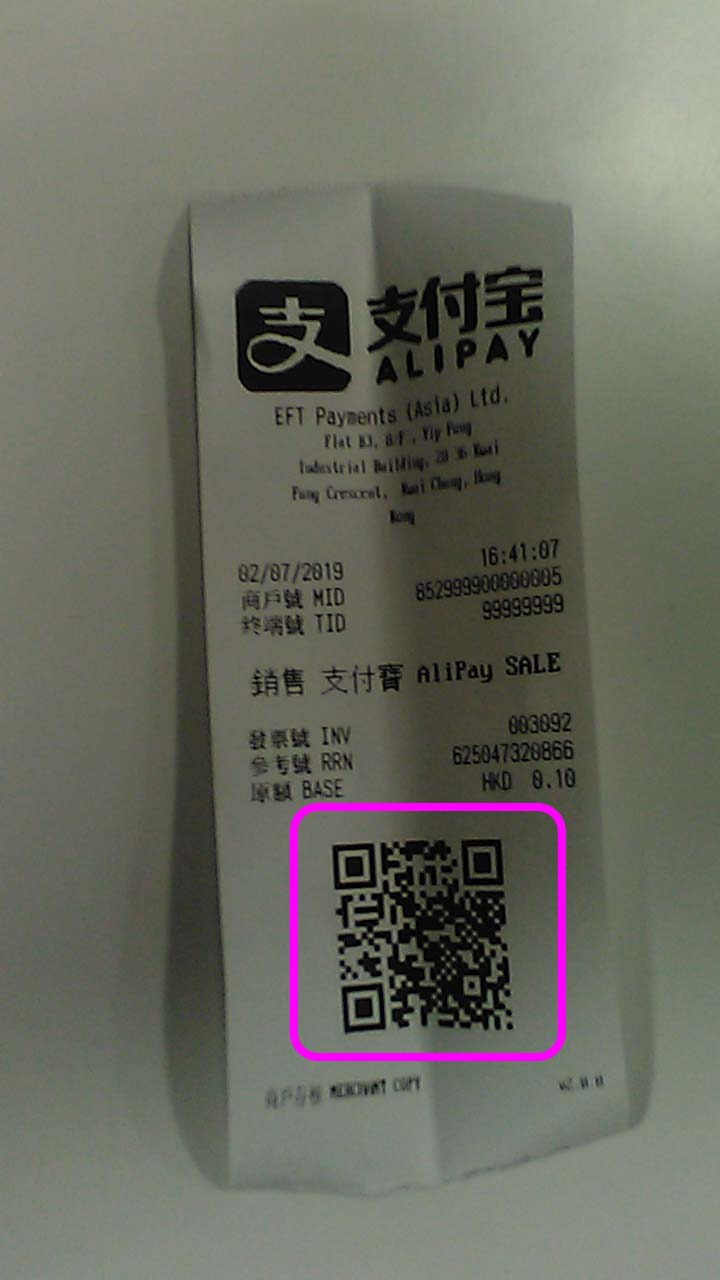
Scan QR code from client mobile
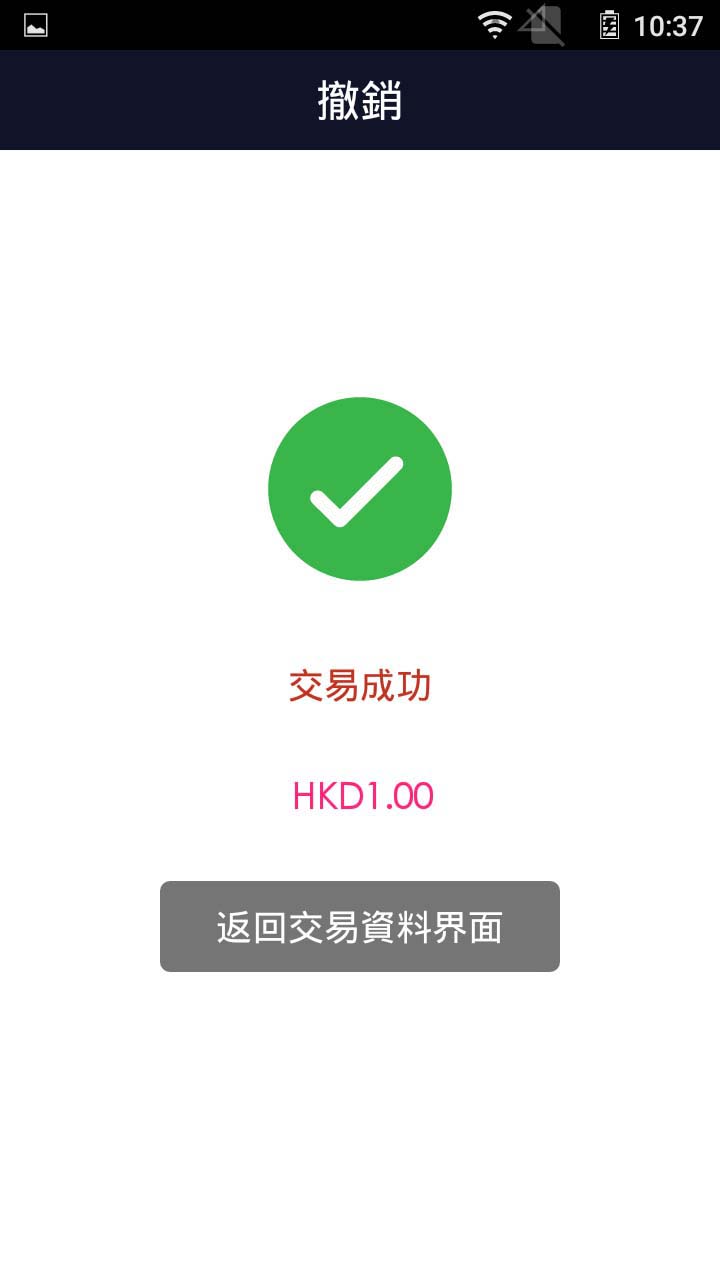
- Step 5 -
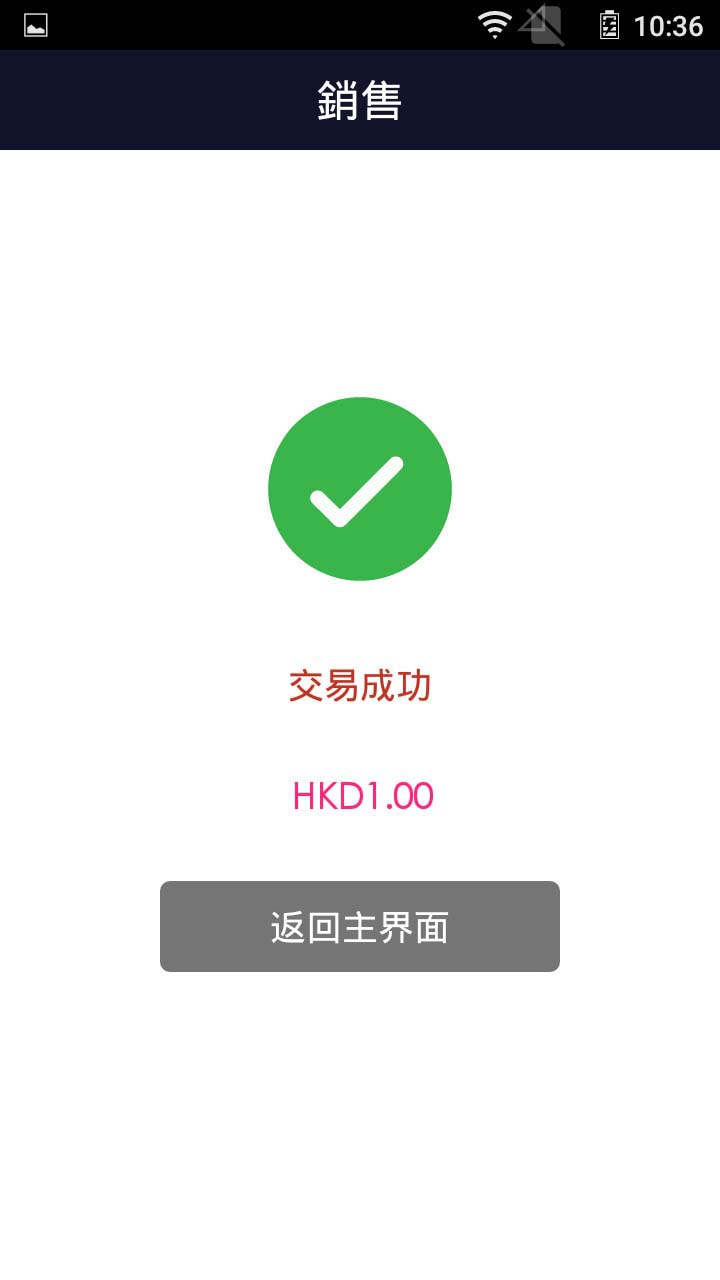
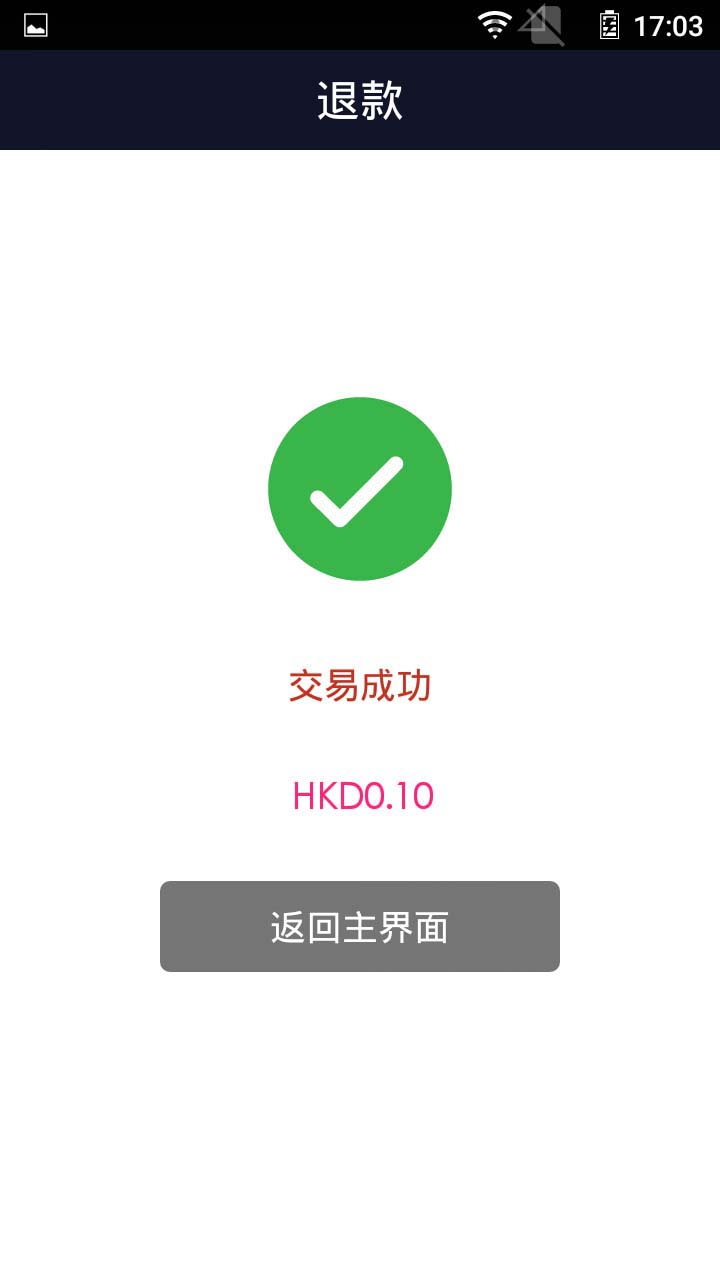
Transaction is completed, and terminal prints out receipt
- Step 1 -
Press [Sale] on menu
- Step 2 -
Enter sale amount
- Step 3 -
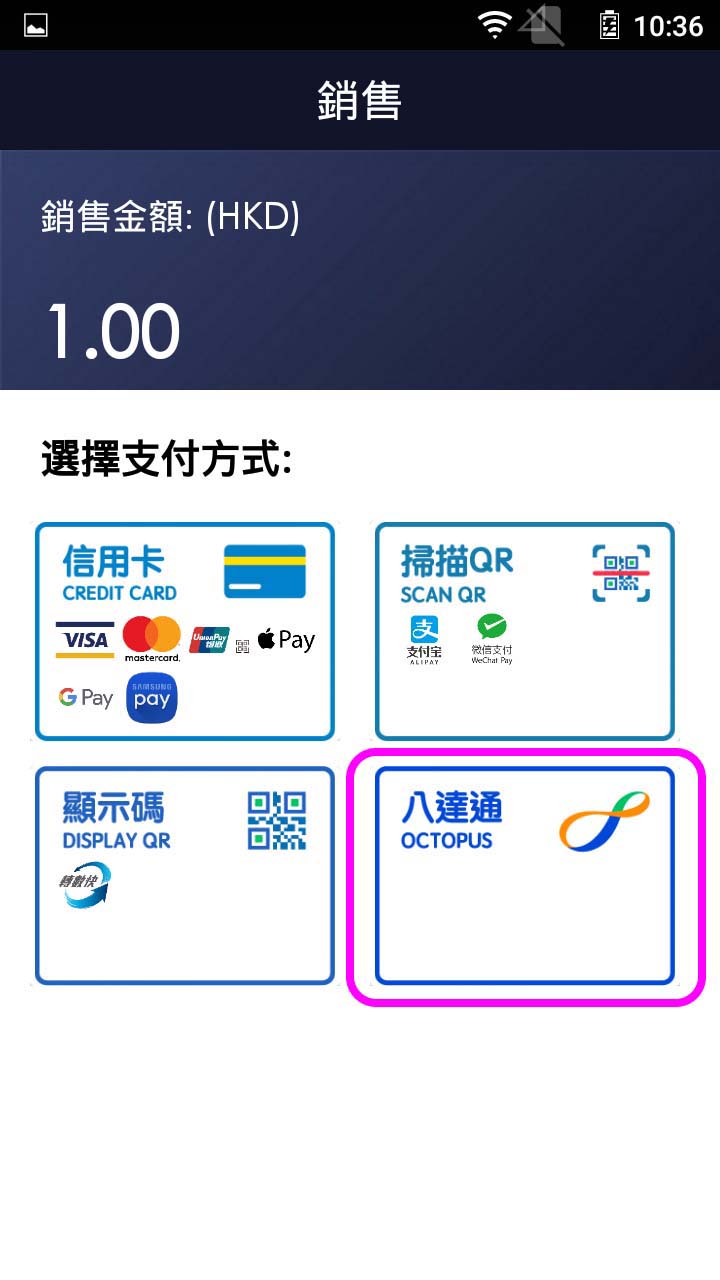
Press button to select Octopus payment
- Step 4 -
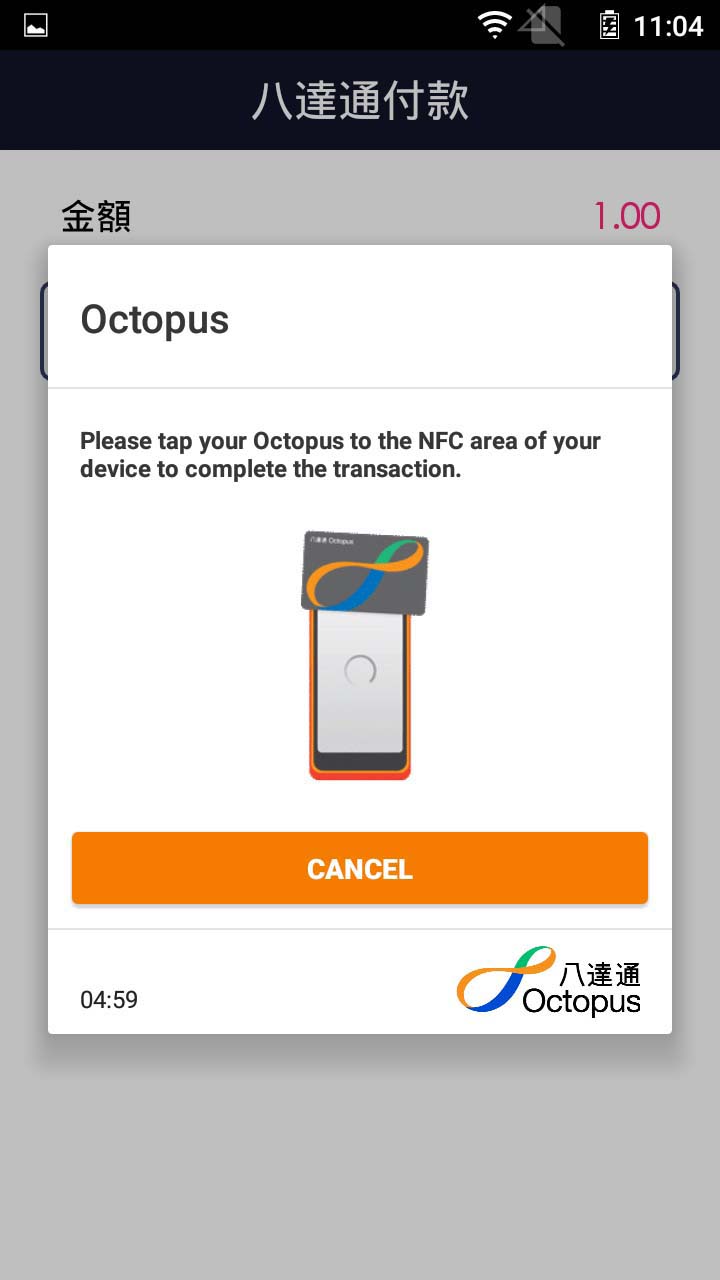
Tap Octopus card on detection area
- Step 5 -
Transaction is completed, and terminal prints out receipt
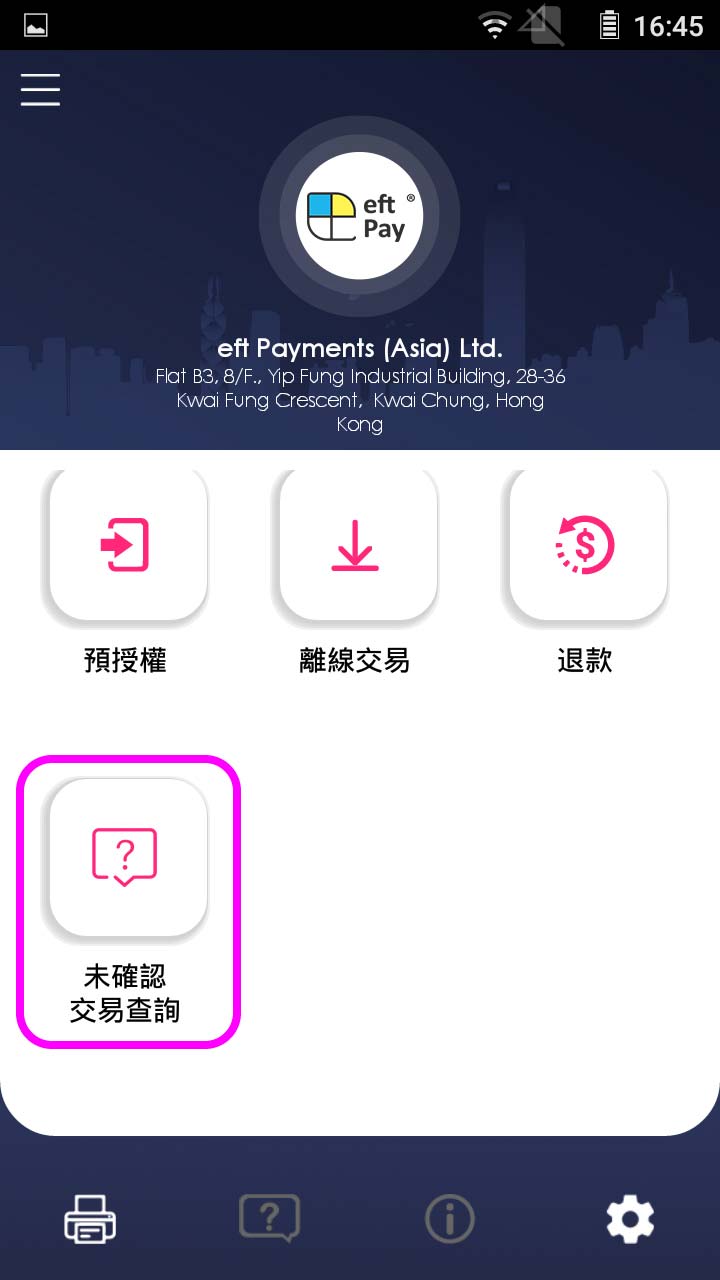
- Step 1 -
Press [Sale] on menu
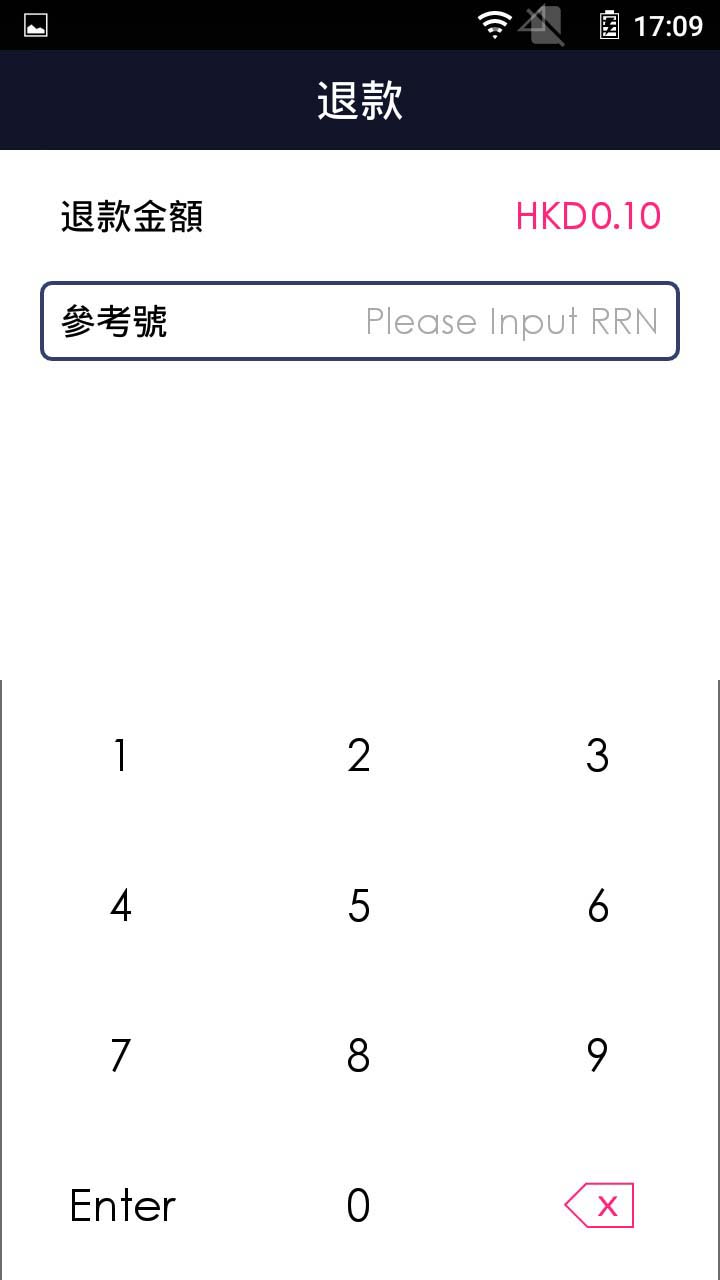
- Step 2 -
Enter sale amount
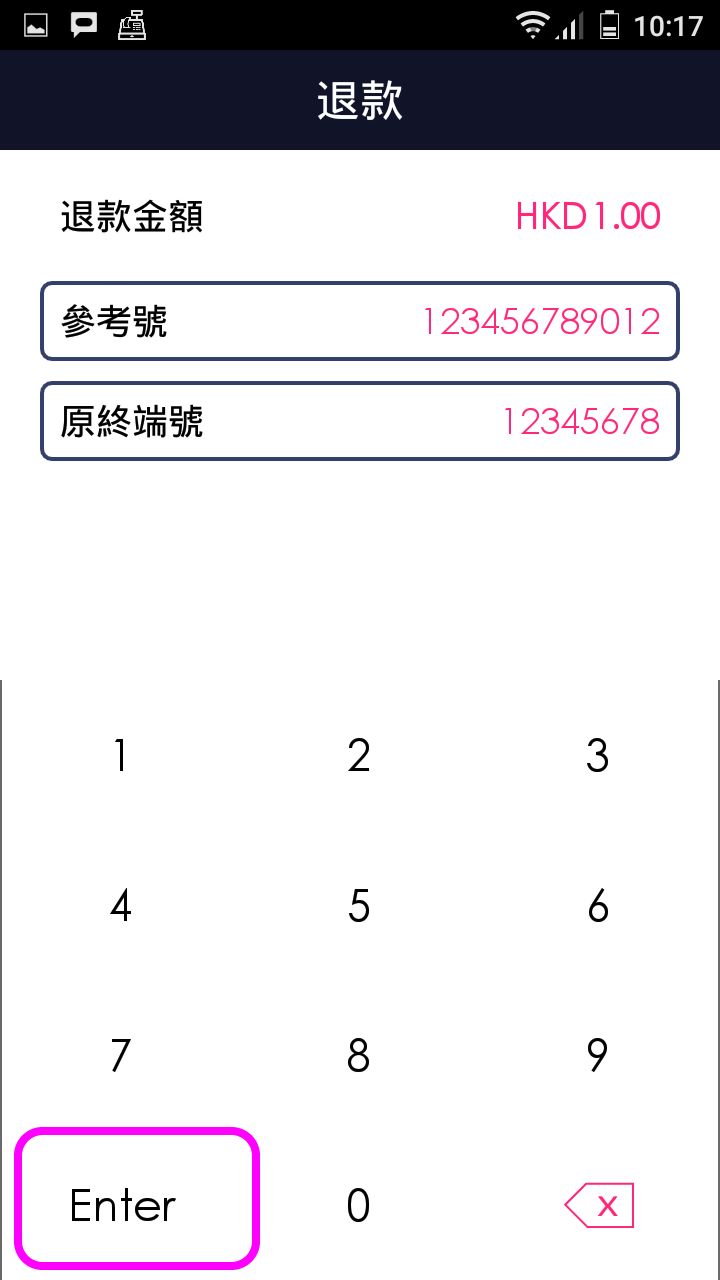
- Step 3 -
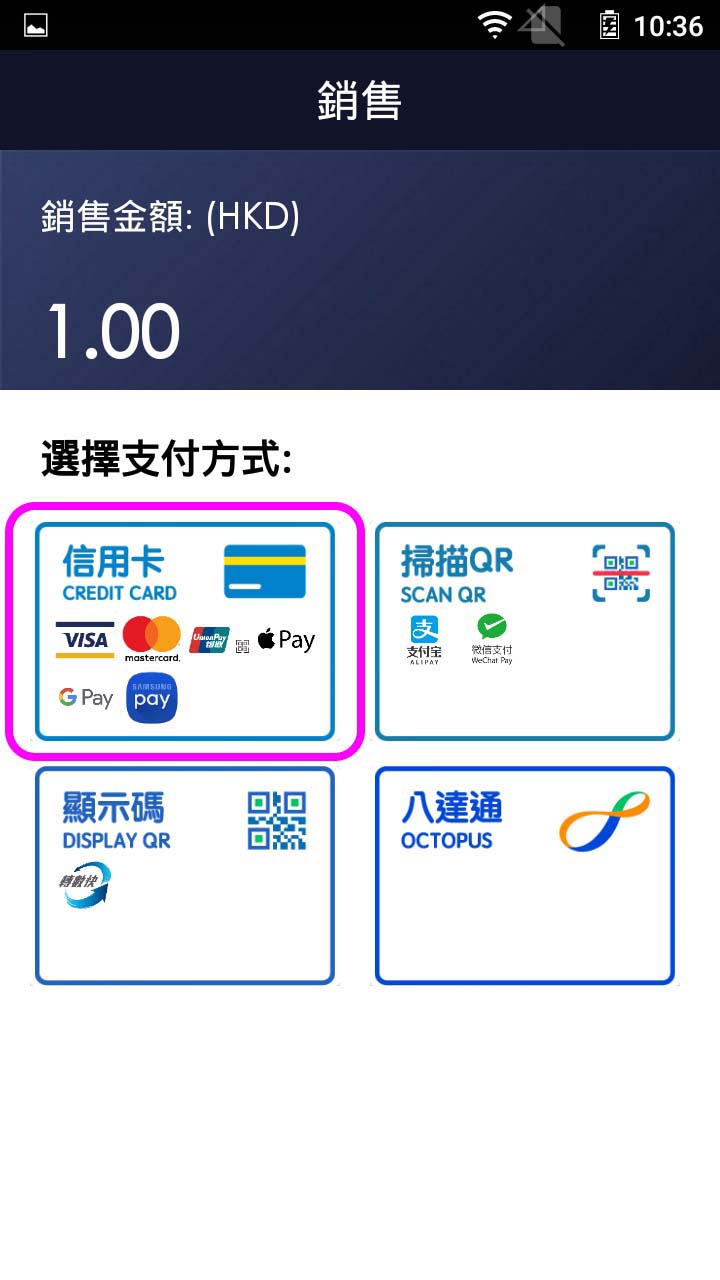
Press button to select credit card payment
- Step 4 -
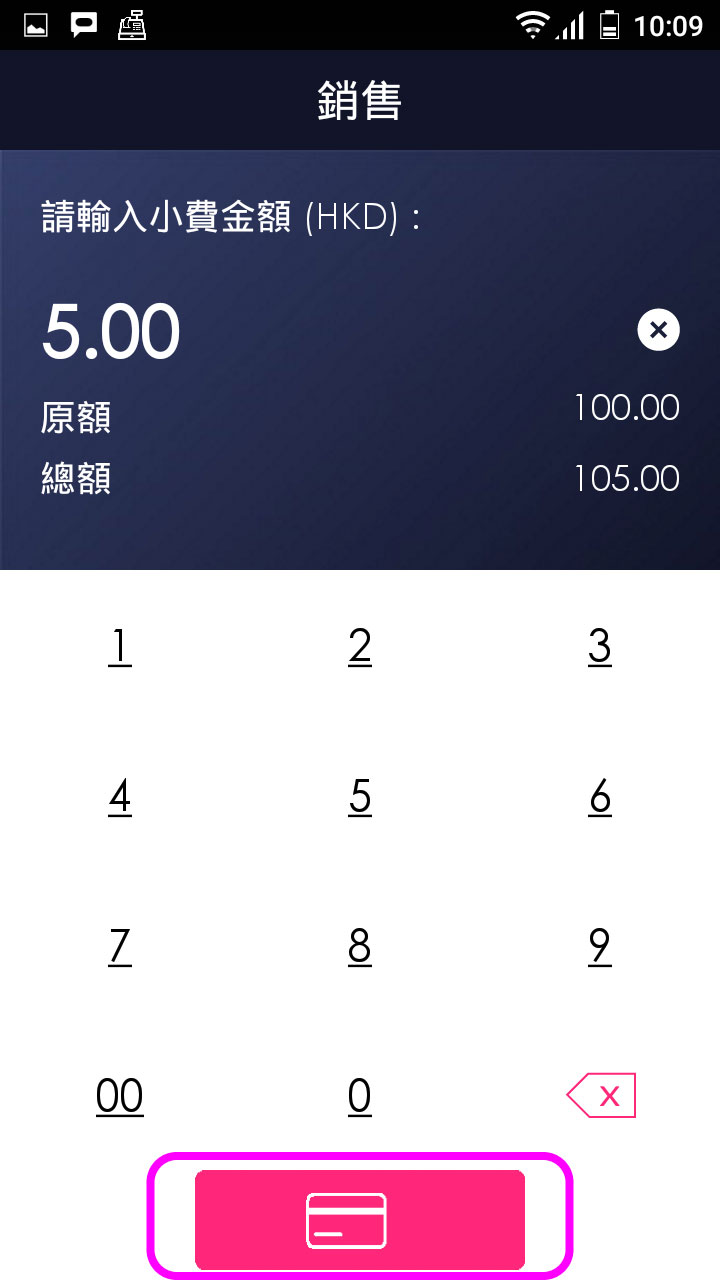
Enter tips amount (If Yes)
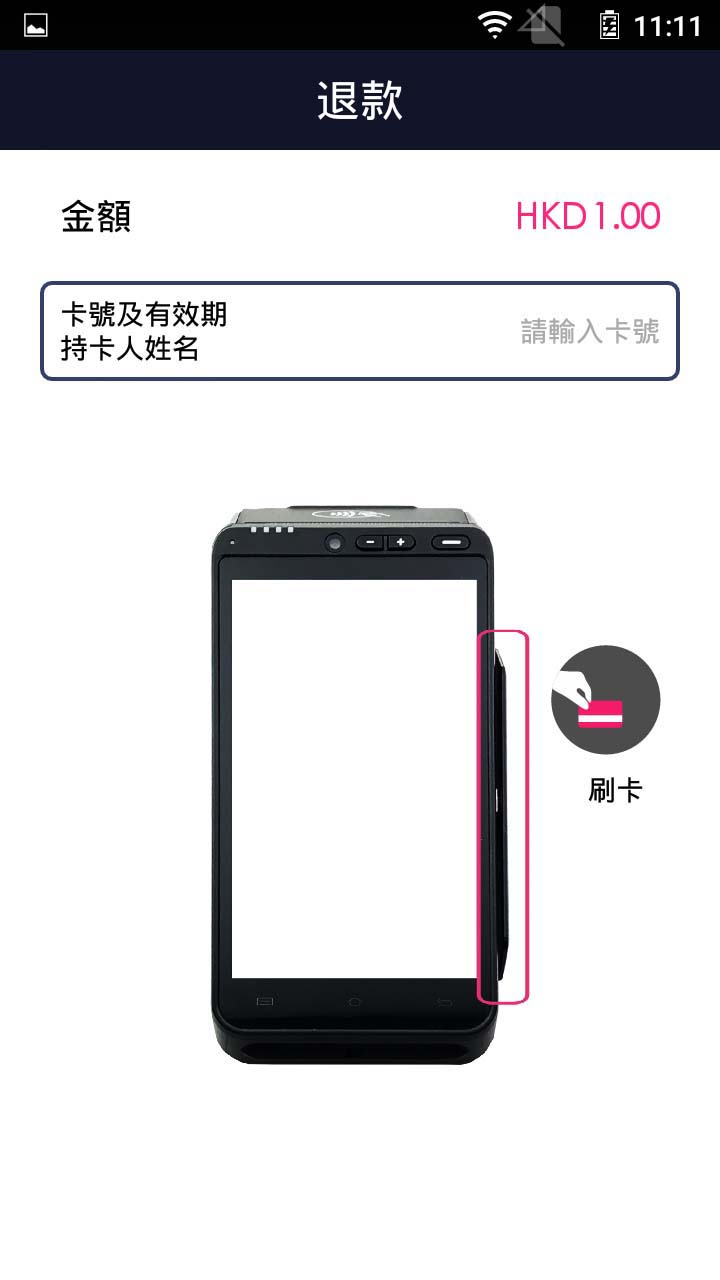
- Step 5 -
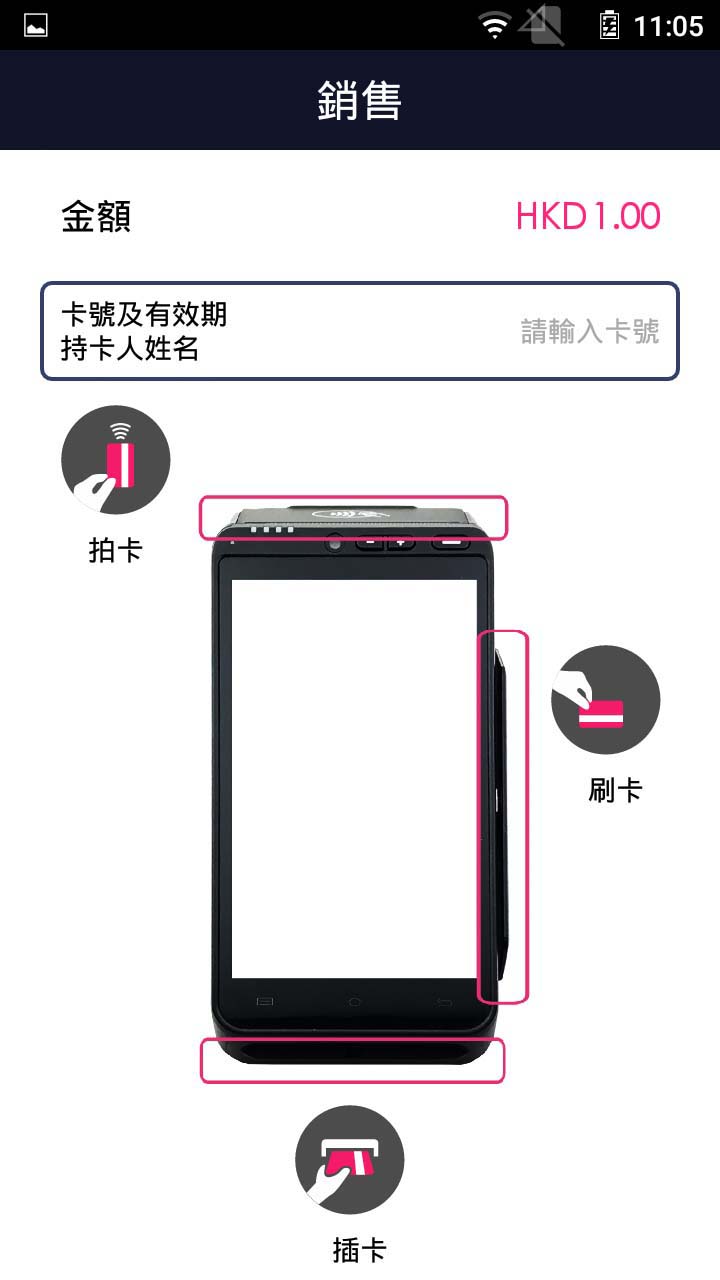
Insert/Tap/Swipe card/Tap mobile
- Step 6 -
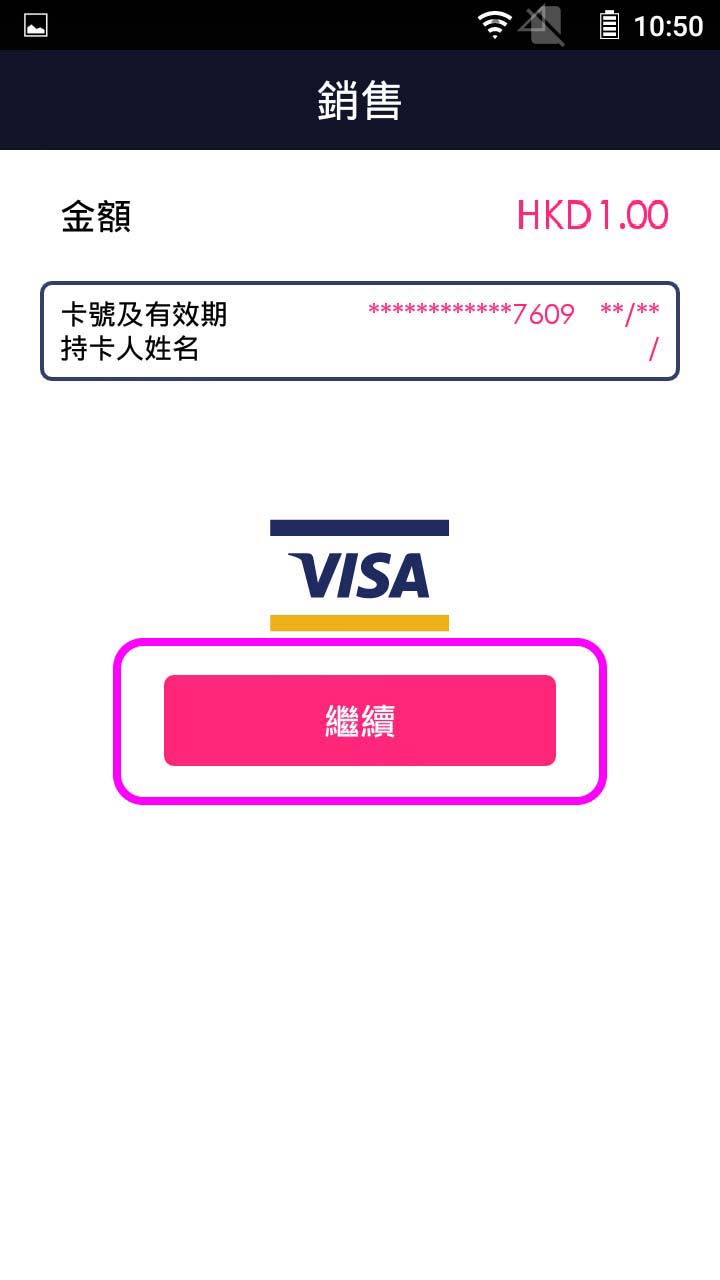
Press [Continue] to proceed (If necessary)
- Step 7 -
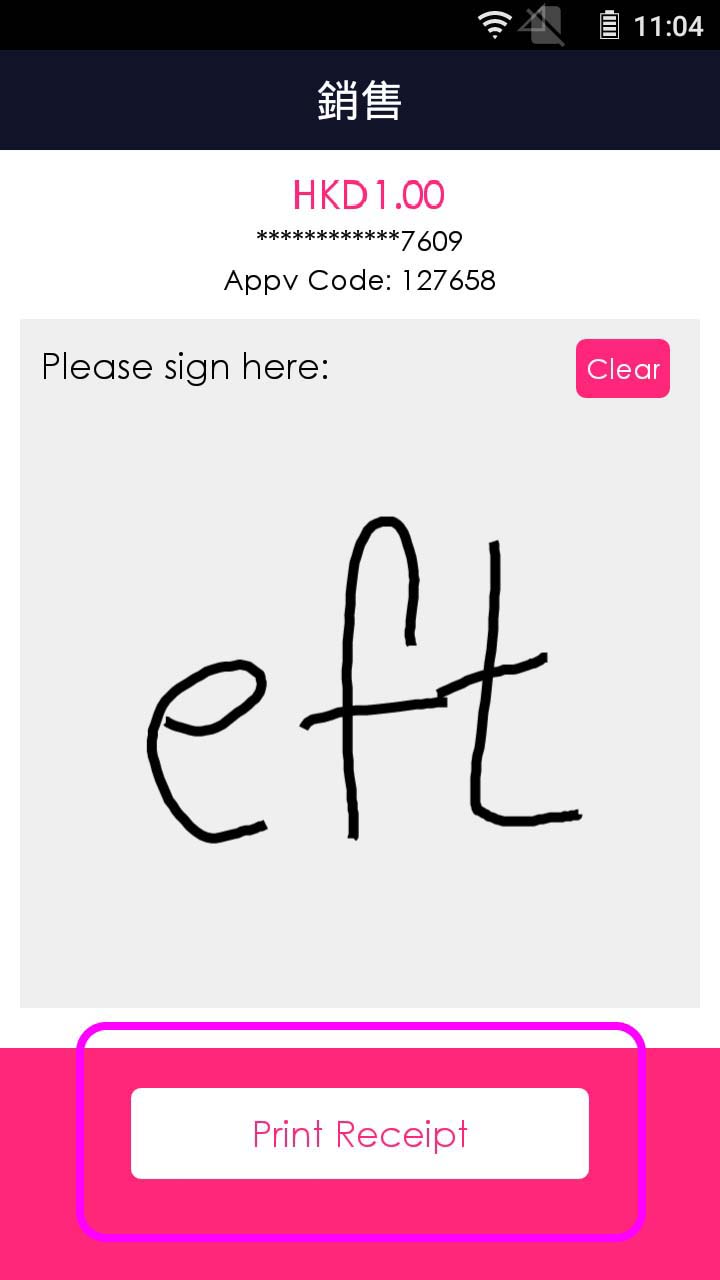
Customer signs, and press [Print Receipt] (If necessary)
- Step 8 -
Transaction is completed, and terminal prints out receipt
- Step 1 -
Press [Sale] on menu
- Step 2 -
Enter sale amount
- Step 3 -
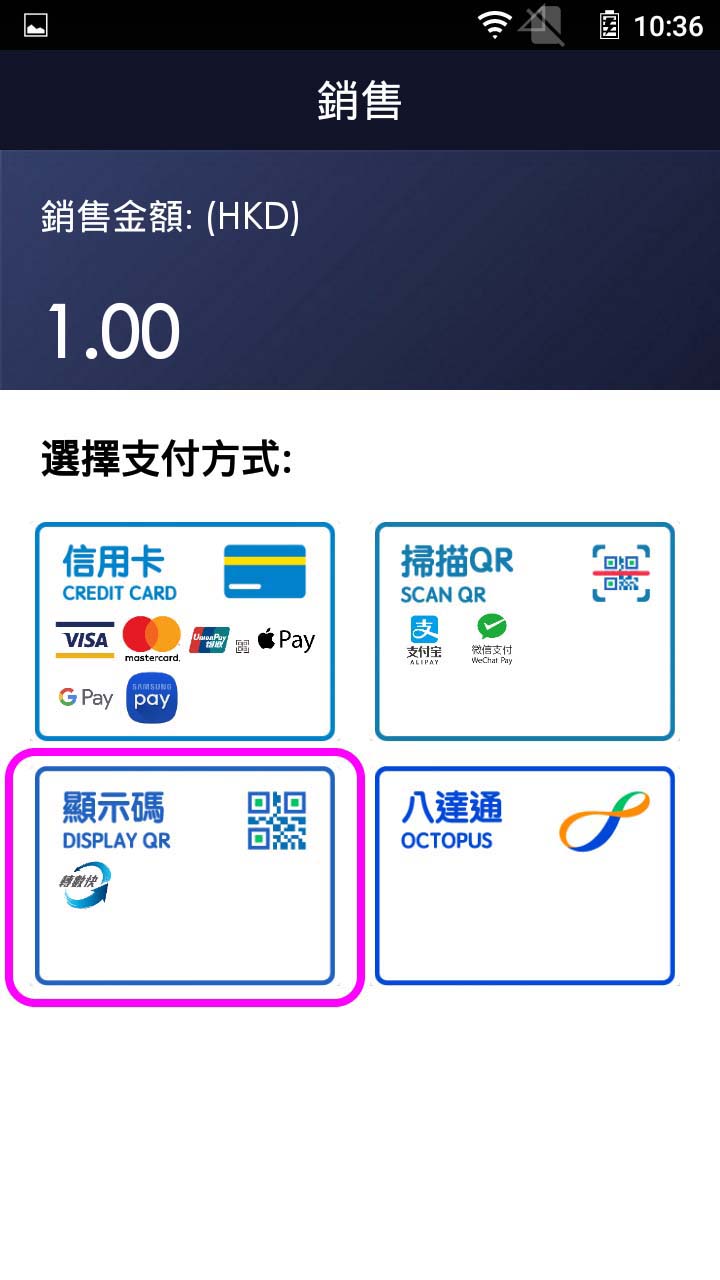
Press button to display QR code
- Step 4 -

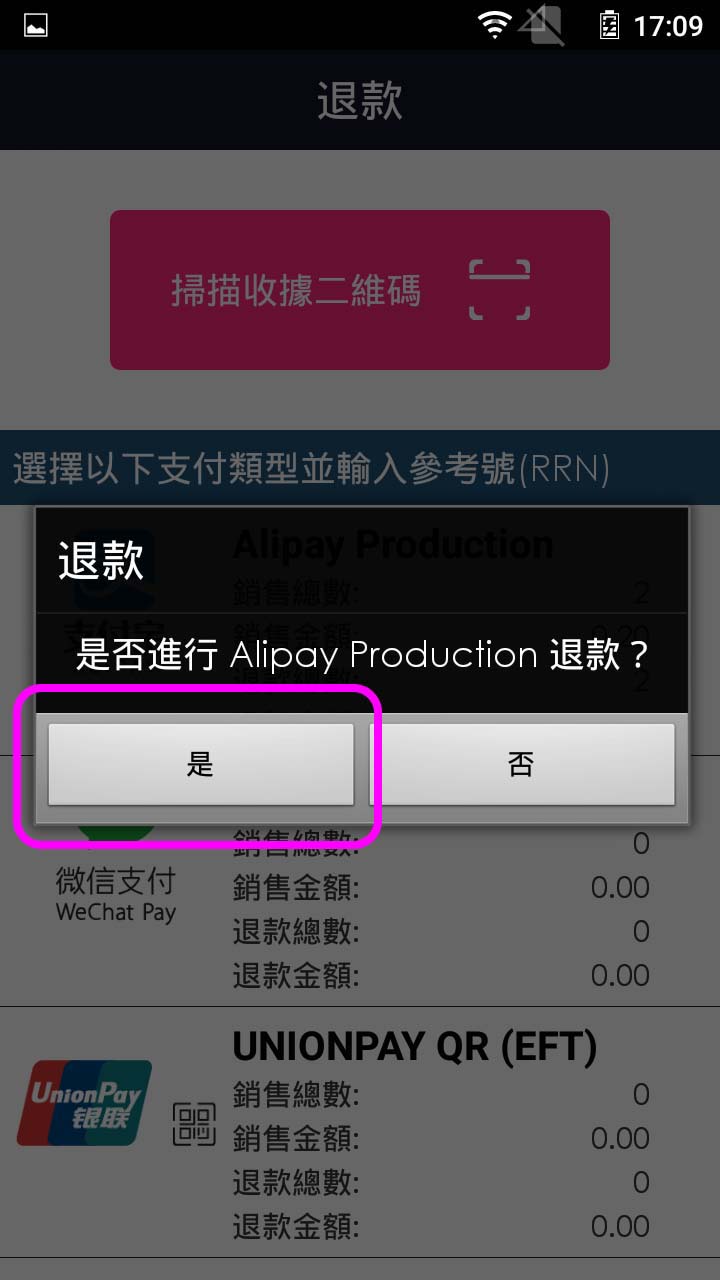
Client scans QR code and confirm payment
- Step 5 -
Transaction is completed, and terminal prints out receipt